Pages

Showing posts with label Clay. Show all posts

Sunday, January 28, 2024

An Urge to Make a Doll

It's Pinocchio! I saw this doll and fell in love with it. The artist Ankie Daanen has created a bunch of beautiful dolls. She is a popular artist in all the doll art magazines. She sells a Pinocchio doll e-pattern on Etsy if you want to give it a try.


I've been working on this for the last 3 or 4 days. It goes pretty slow because I have to let the paper clay dry before moving on with the next stage. I make each piece in stages. I've been making dolls for a long time so this is not new to me and I have my own way of doing things. I like to put paper clay over wood to give it additional strength. These pieces are hollowed out to keep them lightweight and help them dry faster.


I've made polymer dolls over a wire armature but paper clay is a whole other medium to work with that has its own set of rules. First of all, I make my own paper clay from a recipe by Jonni Good of Ultimate Paper Mache . This paper clay is rock hard when it dries and very sandable. They look really rough at this stage. The mechanics aren't pretty but the pieces are really strong. I use wood glue to hold the pieces together when I join them.


I thought I would join the knees and elbows with little wooden balls to bend at the joints but I wanted the hips and shoulders to be attached with a pin straight through. 


I made his little hat and it started to dry out while I was shaping it over a styrofoam egg so I just left the crackled surface because it looks a little like knitting! I didn't plan it that way but O.K.


This clay dries so hard you can whittle it into shape with an xacto knife and drill it too. You can sand it but I find that scraping it with the back of my xacto knife smooths it out pretty good and a few layers of paint sanded in-between with a piece of brown paper bag really makes it pretty.


The next step is to put it together just as soon as I get all the meat on the bones. 


Wednesday, January 25, 2023

Into 2023 and Beyond

Let's see... I've spent the last few months leading up to Christmas on paper crafting and journal making but before that, I did a lot of crochet and knitting. I spent about 15 to 18 months on working with yarn and making animal dolls.


So then I went through a creative block for about half of January and was looking for inspiration for my next project. While I was waiting for a good idea to hit me, I cleaned up and painted my kitchen. I made new curtains for my kitchen windows and painted all the woodwork and cabinets, gave the floor a good scrubbing, reupholstered the kitchen chair seats with faux leather too.


In fact that's what got me started on the kitchen in the first place, just re-doing the chair seats and you know how that goes. Once you upgrade one thing in a room, everything else looks old and dirty by comparison. My son helped me reach the cabinet tops and paint the doors and woodwork. 

The kitchen looks so good now. I even re-organized the pantry and washed the windows. I just couldn't stop. AND - in the interim I did start sculpting again. I made some little mermaid sculpts a few years ago using April Jensen's mermaid tutorials. It's been a while. I love sculpting and working with polymer clay. But I'm really more of a doll person than a sculptor. I like the parts movable so I can pose them. So I usually like to make the heads, hands and feet out of clay but I like the bodies to be soft material over a wire armature so I can pose it. So it's no surprise that I'm working on a few fairy faces now following along with an artist I just discovered on YouTube named Certainly Caroline. Her work is amazing.  

She gives free tutorials on YouTube and shows you how to make these wings for your fairies by printing dragonfly wings on transparency film, colored with alcohol inks or markers then attaching wire and baking liquid sculpey on each side. I added glitter to the back side of mine and gave them a coating of glossy accents which makes them more rigid than just layers of liquid clay alone.


Another of my favorite artists is Annie Wahl and her old people. One of my favorites is her gossipy church ladies sitting on a couch. I'm really not the picture perfect beautiful doll collector type of artist. I like my dolls a little quirky. I'm more of a fairy type artist. This little guy is from an Annie Wahl tutorial. I just have to put some clothes on him.


I thought I would make some faces and molds, then make a few character fairy dolls. I like 'Certainly Caroline's' tutorials but wish she were still active in making them. But I'll learn what I can from what she's got out there. I tried a new way of making a mold that only works with smaller things unless you want to use a pack of glue sticks... I don't. First you put a layer of vaseline on the hardened face sculpt and then put it in a little box or make one to fit. Just cover the face with hot glue and make sure you get all the way down to the flat bottom edges.


It comes out of the mold pretty easy and the mold won't warp your clay like a soft mold will. Just brush corn starch or water on the mold and push your clay into it for a perfect replica of your doll face. It saves you time to use a push mold. You can change a few things on the molded sculpt to make it unique so it doesn't look like a complete replica.

So far, 2023 is starting out to be the year of the doll for me. Or at least until I get tired of doing it OR until I get busy with the Spring planting in a few months.


Monday, April 18, 2022

Bead Making Weather

This crazy weather! A few days ago it was 60 degrees, my neighbors were mowing their grass - and this morning I woke up to snow on the ground... what the??? Ugghhhh... oh well, might as well make some beads and heat up the oven. I saw these beautiful bracelets online made with beads and knew I just had to make some for myself.


So I started gathering my supplies. I already had the right jewelry making tools, wire, some beads, etc. but I did not have connector beads for the middle focal point of the bracelets and I did not have the stones I wanted in 6mm size. I did have the leather cord but only in a few colors and I want a white bracelet. So I had to order some supplies AND as if that was not enough delay, I decided to make a display holder and organize my beads... all of my beads. My mind felt cluttered until I got them all organized and it was a long and tedious task.

I had a big container filled with trays that some had spilled into the bottom over the years so I had to sort through thousands... I mean thousands of beads in every size from seed beads to  12mm or more and put them back into their containers. I also threw away a treasure trove of cheap plastic beads that I know I would never use and nobody would want. It took me several hours, almost half a day.


I had some stone beads but wanted to get more. Have you seen the prices on these beads? I decided to make my own faux stones out of polymer clay. I did not have any beading string or know enough about it to get the right kind so I had to do some research. I used what I had, Egyptian cotton size 10 crochet string on the first bracelet because I couldn't wait for my bead string to arrive. I should have run it through some bees wax and then brown paper to wipe off the excess, but I didn't know that until after I got it done. I'm sure it will be fine.

A few days later and finally I got my supplies so I doubled some C-Lon beading string, size D to use on my bracelets. I also got a few little sample sizes of the lightly waxed Nymo brand, size D which is shinier and a little thinner than the C-Lon.. I could also have gotten the C-Lon .5mm string or a 1mm size and only used a single strand too. It only has to fit through your needle and through all your bead holes. You have to try everything to find what works best for you.


Apparently 1.5mm or 2mm is the kind of leather cord to get. I guess you can use any size beads you want but if you do a wrap with 3 to 5 times around your wrist, you will not want a bracelet that weighs a ton. So I decided to use 6mm beads and 1.5mm cord. 8mm beads are good too but I don't think they  look right unless you go up a size to 2mm leather cord with them. That's JMO.


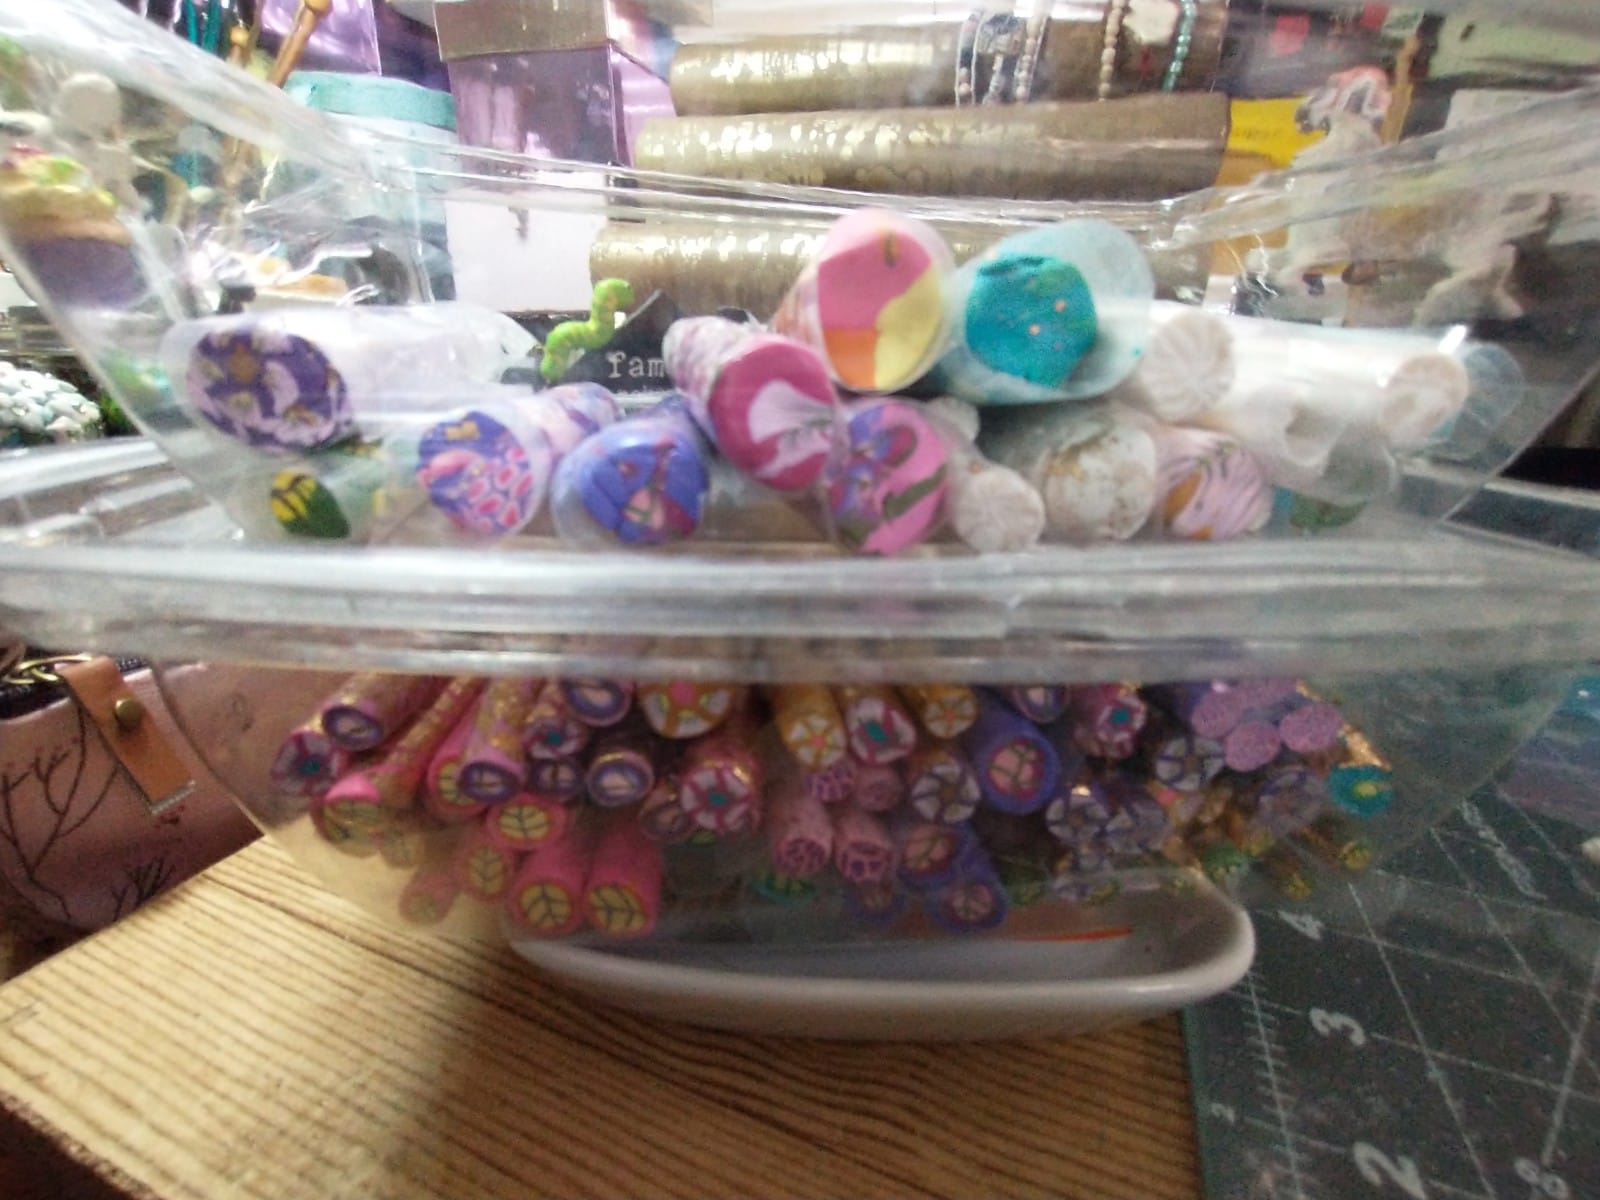
When I make beads, I like to mix the colors to look like stone. I also use gold leaf sheets to accent them sometimes. If you use gold leaf or mica powders then you have to seal them to keep it from wearing off over time. 


I spent my money on the right cord and strings because I knew I could always make the beads and faux stones with what I already had. I had all the metal wire and fittings already but I did get a few accent buttons for closures although I can make them, I wanted them to be really strong.


I did not have a display for my stone bracelets so I made one out of paper towel tubes, foam core board and faux leather fabric. It's taken me about a week to make the things I needed, get organized and gather all my supplies to get started. It really doesn't take that long to make a bracelet. I could easily get two or three done in a day if I had to. So far I've made two tri-wrap/ boho/ yoga bracelets. Whatever you want to call them, they are gorgeous. But I wouldn't make a five wrap style. It is just too long and heavy for my taste. I will be making some single and double wrap ones though when I get a few more stones and beads made so I'll have more options to choose from in future designs. 

I am making beads now so I can make more bracelets. All I really have to buy are a few strong buttons and some glass beads for variety and sparkle. I like to make the beads but I really like the natural stones too. And I'm always all about the sparkle!