Are you excited? I know I am! I've dragged out my leftover papers from previous years and have organized all my stuff, cleaned off my desk, made a privacy screen for the nightly video chats with other crafters in the craft chat rooms and ~~~
I've watched all the pre cut videos at least once, some of them twice! I've paid special attention to the projects we will be making and I'm confident that I can get at least one of everything done before it all starts. This year my least favorite class has got to be that calendar in spite of it being drop dead gorgeous. I don't like to stamp and the pre-printed is just mostly all done. Add stickers, glue the box together, make a butterfly easel and you're good to go.
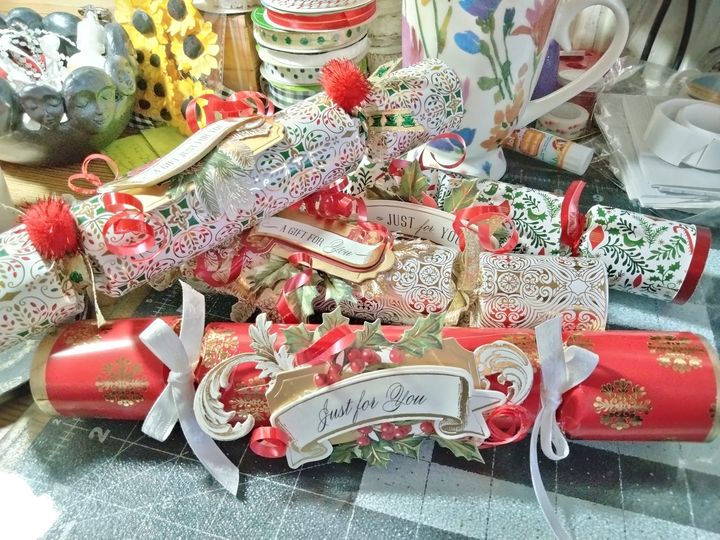
You know me - I look at that big box of goodness like it's a puzzle and I can figure out how to make the projects beforehand. I follow the basic instructions that come with each set of dies and then I look at the preview pictures of all the class projects and figure out how to do it. Last year's least favorite class was the Christmas Crackers. But I really like them, it's just that it seems such of waste of expensive paper to tear them up.
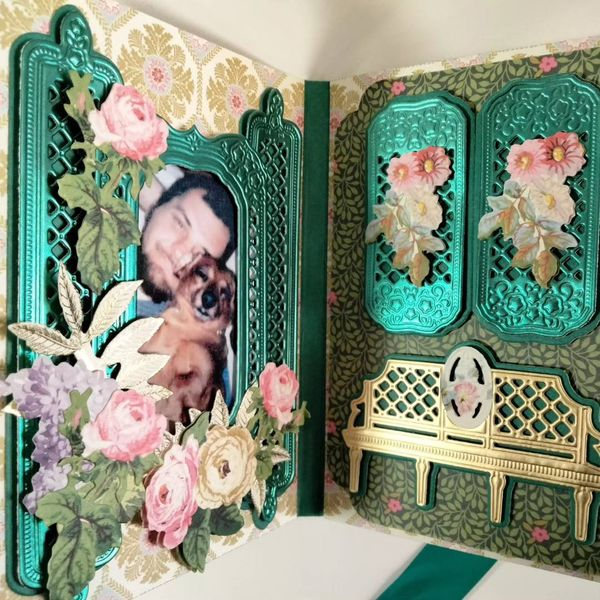
That goodie box with the diorama inset might be a little tricky but I'm pretty sure I know how to do it. I love Create and I love most everything about it but like every event, you are just not going to like every single class. I have other templates for these type boxes so... these are not new to me. To make an insert or recessed window all you do is cut a hole in the side of your box to fit the background insert and then make a rectangle background for the insert adding an inch around the background paper and make a fold 1/2" in twice. Cut your corners and bend it into a box shape with the outer lip folded back so you can glue the edges to the inside of the box.
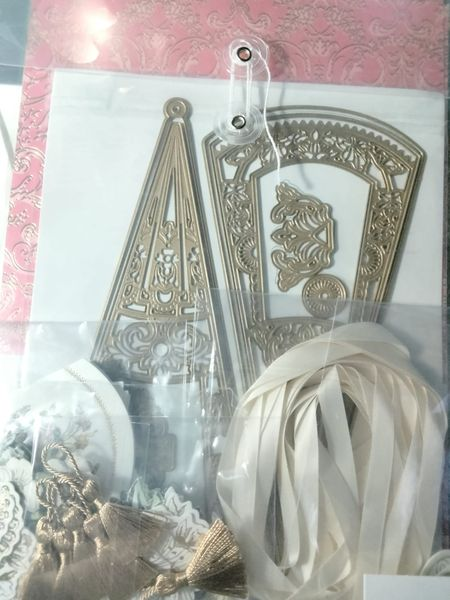
Already I think there is a material shortage this year. I have leftover papers from the past two years but this year it looks a little light and NO 12" x 12" paper, plenty of ribbon but no bows but I think Anna is going to show how to make bows from all that ribbon. I also noticed there are not very many printed sheets but plenty of foils. Definitely not as much paper. I wish there were more stickers too. I don't like that shrinkflation has hit my beloved Create boxes but it is O.K. I won't let it ruin my day. Last year's box was packed and overflowing.
I also won't be making a few of the class projects as shown because I just don't think they are pretty. The woven ribbon class to me is a huge waste of good ribbon. I don't think the examples are very pretty so I might do a card or two a little different than shown. The last two years were over the top. It's gonna be hard to beat last year.
I make tags to put on my Christmas tree or use as bunting but I don't give my good paper away to be thrown away as a gift tag. No can do. Gift tags for real? Dollar Tree stickies for cheap and I save my good stuff for the tree. Last year's tags were more substance, more stickers and more layers. I like them more than this year's tags which I felt were a little plain by comparison.
I do not like the corset album as an album BUT, I probably will put the front and back on a little box for sewing notions or add felt pages accordion style as a needle holder for my sewing but I cannot think of any photos I would want to put in a corset album. It's underwear. An underwear album for family pictures? Naaaahhh... I will use it for sewing notions.
My favorites are the hats, fans and ornaments this year. I also like the theater card but, it uses a lot of paper and is pretty thick for a card. I might make mine with a Christmas scene instead of the examples given. I really like the shoe ornaments and wouldn't those hats look good in a miniature version for a fashion Christmas tree?
As with everything, either the price goes up or the materials are less. That's to be expected but I would rather pay more for the quality and more materials than pay less and get less but that's just me. I have a lot of leftovers from the previous two years so I'm good for a while. The Create pouches are a great way to store all that stuff!
After all is said and done, I would still do Create every year that I can and enjoy it immensely regardless of the price and quantity of materials. It's the whole experience of crafting with others and sharing your makes. I think it would be pretty hard to beat last years album. Everything after that would be a let down but... I love this craft. I'm definitely a hardcore Anna Griffin fan.


